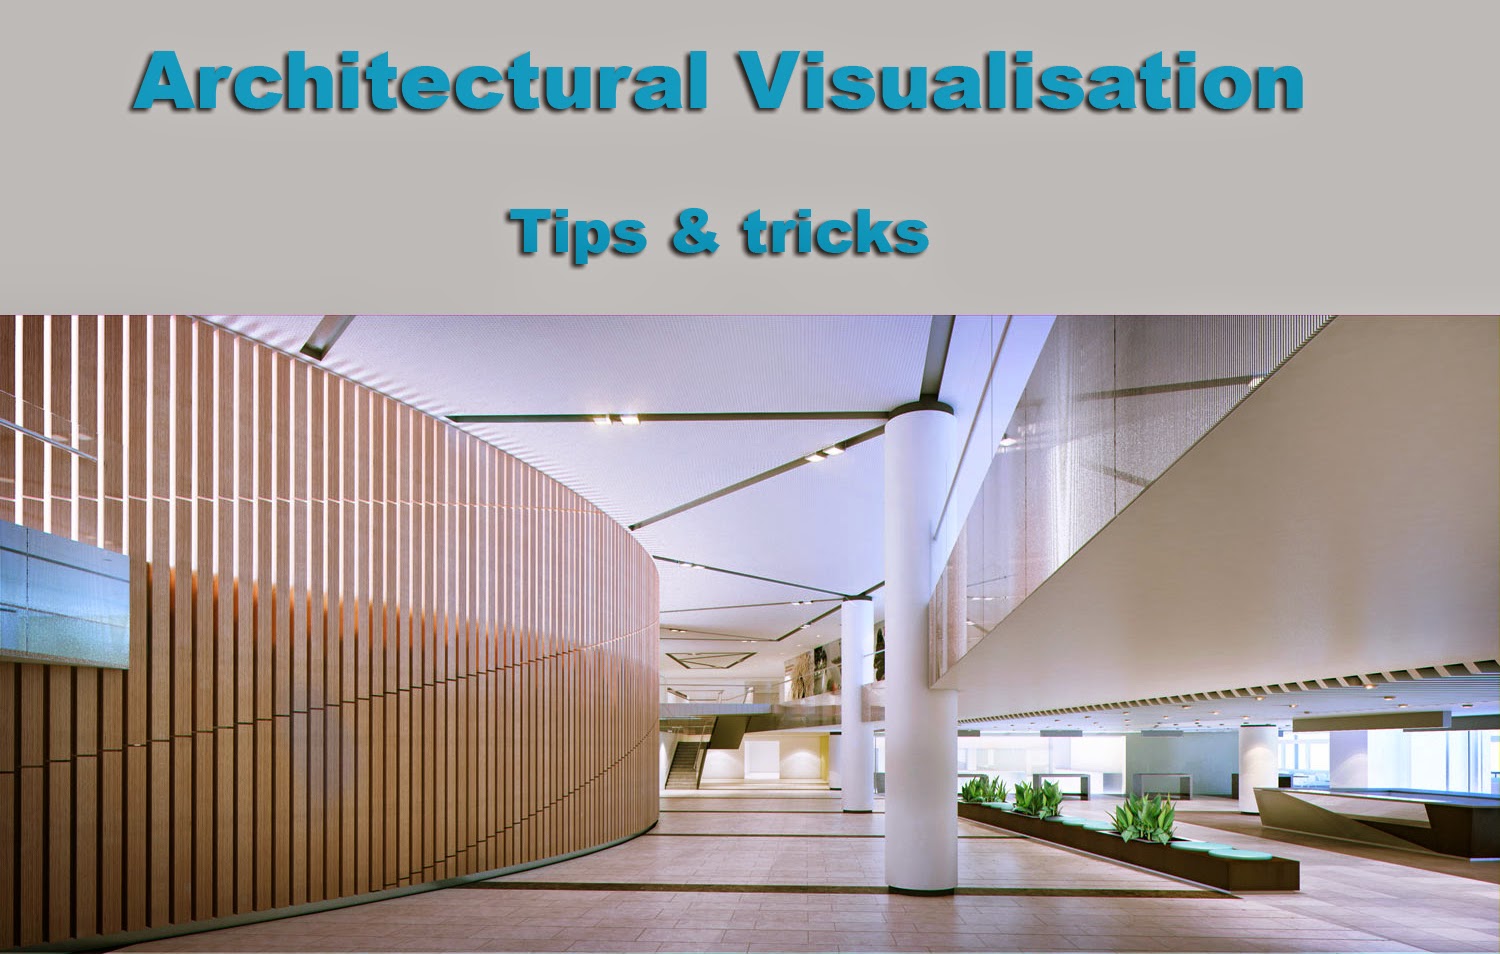
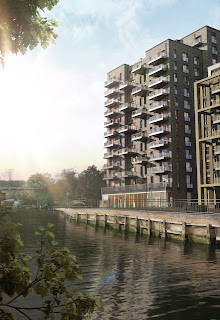
Tips & tricks for 3d architectural Visualisation
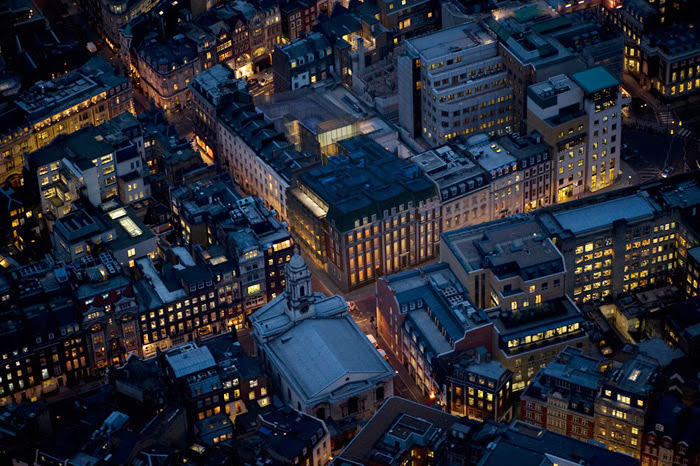
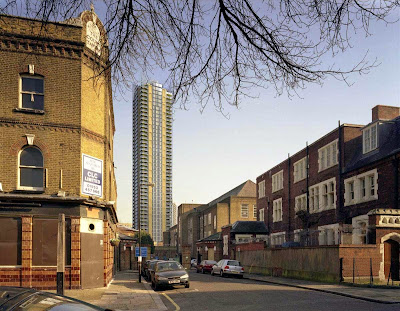
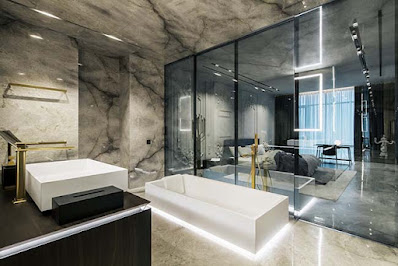
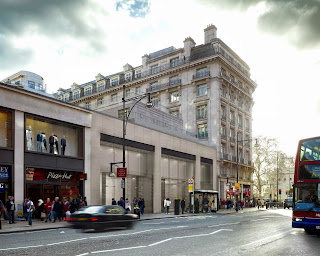
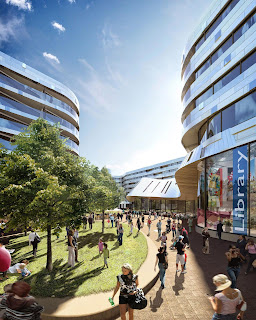
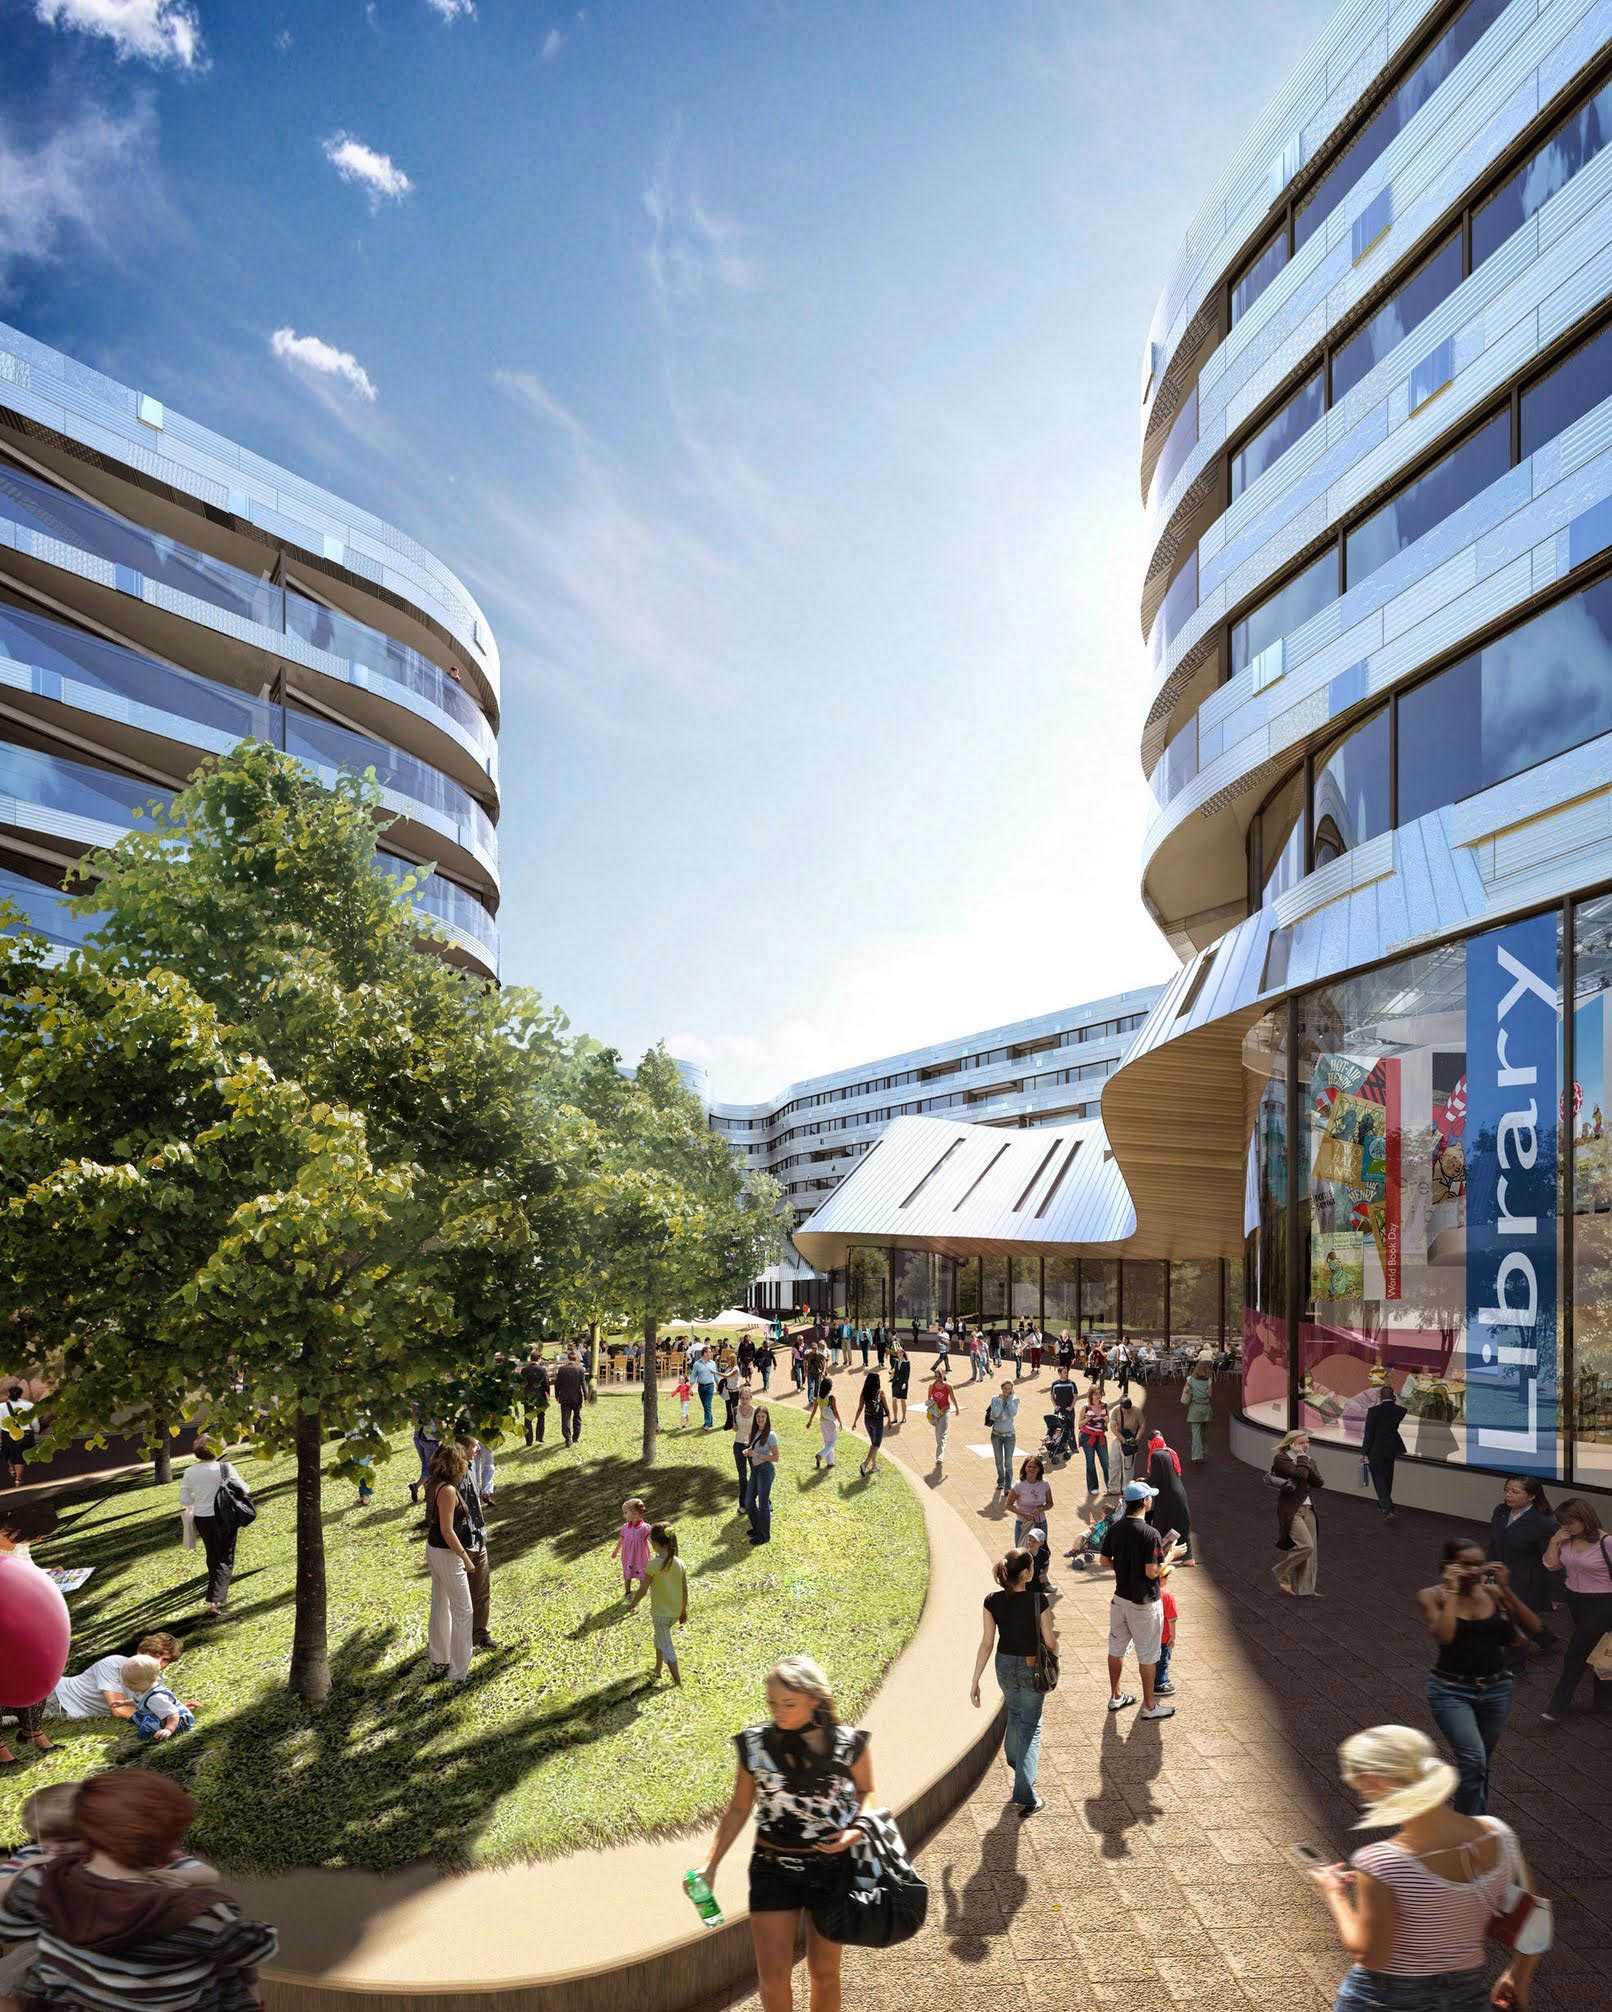
The 3d image shown above was created while at TP Bennett. To see my entire 3d portfolio and the architectural rendering, simply click on the above image!

The following tutorial/tips are mostly related to 3d architectural visualisation.


The following tutorial/tips are mostly related to 3d architectural visualisation.
However,
users from similar industries such as, Architecture and Architectural design may also find the following tutorials/tips useful.
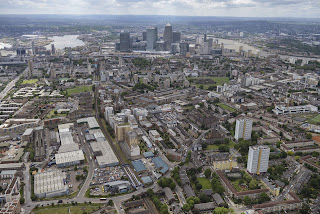
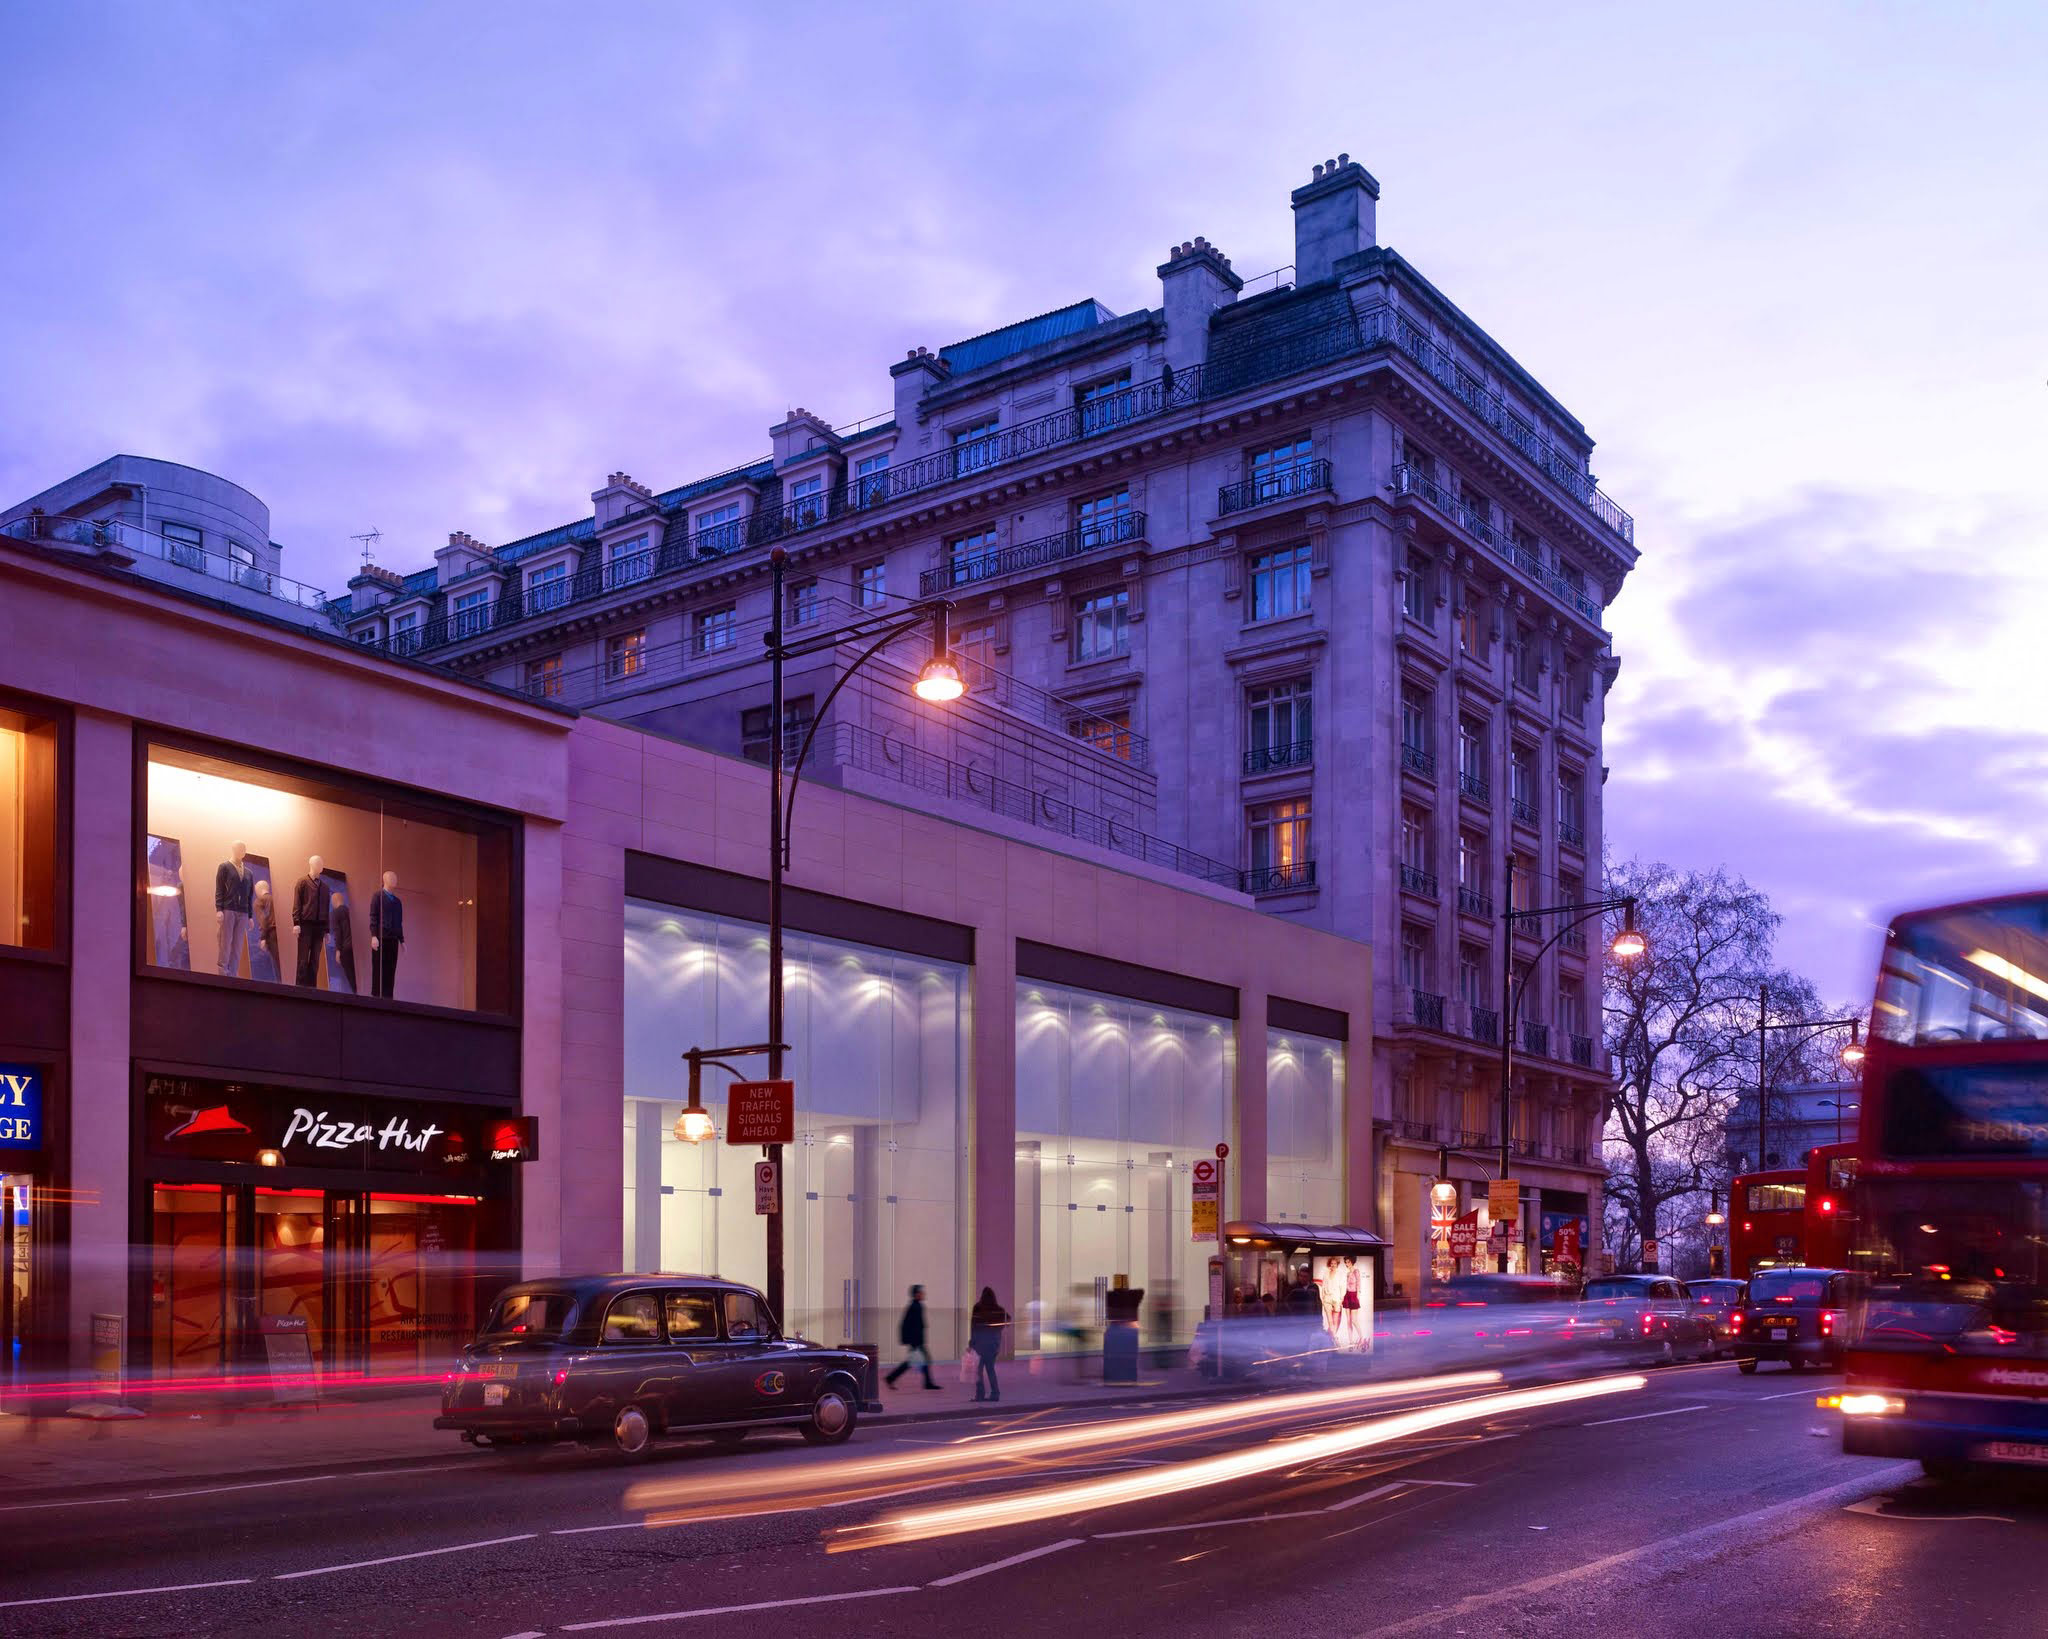
This part 1 series will begin with a photomontage/verified view technique to workout the vanishing lines of an architectural photograph. Also, it will focus on how to extend the Photoshop canvas dimensions in a non-destructive way,in order to correct the vertical shift of the camera/photo.
Following that, there will be a short step by step tutorial/description on how to correct 3d model size/dimension discrepancies in 3ds max.
The remaining tutorials, will take users through the processes of:
-Using the xref procedural material in 3ds max
-How to quickly correct 3d models with dll errors
-How to correct uvw map artifacts with inherited models
-Masking out trees/leaves in Photoshop
Using the Crop tool in
a non-destructive way
In architectural visualisation, users are often required to
create vanishing lines in Photoshop, in order to correct camera shifts from
photos taken for 3d Verified views or 3d Photomontages.
To start, users simply go to the Tools
sidebar, and choose the Line Tool from its list.

To create the vanishing line, simply set the line weight to a visible size (i.e. 5px) and begin creating it, by clicking and dragging it along.

Once the vanishing lines are created, duplicate the
background layer(Ctrl+J) and enable the canvas Ruler(Ctrl+R).
It’s worth noting that, it’s imperative to duplicate layer prior to using the Crop tool in a non-destructive way
Next, click on the top part of the ruler and drag it down to create a guide.
Ensure the guide is positioned exactly where the vanishing lines meet.

To correct the camera shift, the vanishing line (guide)
needs to divide canvas into two equal sides. This exercise will require
extending the canvas.
To Crop extend the Canvas in a non-destructive way; first zoom out of the document/canvas and enable the Crop tool(C).
Next, drag down the Crop tool until its midpoint is positioned at the center of the guide (vanishing line).
Before Cropping (i.e. press Enter), ensure that the “Hide “option on the main toolbar is enabled, as opposed to “Delete”.
Once satisfied, simply press “Enter” to Crop extend the document/canvas.


Following that, create a rectangular selection around the extended area of the document with the marquee tool.
In addition, create a new layer( Ctrl+Shift+Alt+N), fill the selection with the Paint Bucket tool(G) and save the document as a PSD file.
This action is necessary to ennsure Photoshop "hides" the the extended area after Cropping it. Otherwise it will assume that, the extended area is empty without pixels/layers and subsequently delete/crop it...as opposed to hide it.


Once the document is saved as a PSD file, one will be able to
go backwards and forwards between the original and the cropped version at any
point in time.

To see more tips and scripts for verified views, please visit this new post HERE
Correcting model
scale discrepancies
In architectural visualisation, it's common to find oneself working in scenes, or with models that are not scaled realistically.
More often than
NOT this error is attributed to the manner in which the 3d model/s were merged or imported into the 3ds Max scene.
In such cases, the scale discrepancy is usually by a factor of 1.0.
In such cases, the scale discrepancy is usually by a factor of 1.0.

To correct this artifact, simply do the following:
If the model/scene is too big (in meters), simply open its
Units Setup dialog, and set the System Unit
Setup so 1 Unit is equivalent to 1.0 millimeter, to reduce its overall size.
Setup so 1 Unit is equivalent to 1.0 millimeter, to reduce its overall size.
In addition, ensure that the Respect System Units in Files option is enabled.


Save and close the 3ds Max scene.
Next, open a new 3ds Max scene and set the System Unit Setup
to millimeters (I.e. 1 Unit= 1.0 Millimeter) and close the dialog.

Following that, merge in the scene previously saved . The scene should come in with the correct scale.


If you find yourself in a reversed situation (i.e.
scene/model is too small), simply set the 1.0 unit (millimeter) to be equivalent to
a higher unit (i.e. meter).
If the scene/model is in centimeters, simply use Google to
work out the equivalent of it in a different metric system. As mentioned
earlier, the scale discrepancy is often by a factor of 1.0.
Finally, if you require re-scaling one model in a 3ds
Max scene; simply Save Selected and follow the steps described earlier.
Using Xref Material
In architectural visualisation there are often times when
is absolutely necessary to use Xref materials due to numerous individuals being
involved in the same project.
Such large projects are usually broken down into various 3ds
scenes while sourcing the materials/shaders from one single 3ds Max file.
To ensure team members can easily view and select materials/shaders
from the relevant 3d scene; all objects are re-named according to their
shader/material attributes.


To access the pre-saved materials/shaders from a separate 3ds Max scene, one should click on the shader toggle and pick the XRef Material shader from the Material/map browser dialog list.

Once the XRef material shader is loaded, click on the File Name toggle to access the material/s and to select the relevant 3ds max file.

Once the XRef Merge dialog appears, select any of the materials previously created and re-named; followed by assigning it/them to various objects in the scene.


Correcting UVW map arifacts with inherited models
In architectural visualisation, it’s quite common to inherit
models with bugs/artifacts from a different artist and/or company.
In some cases the 3d assets don't display textures applied onto them, even after collapsing the model and applying a new UVW map modifier to it.
This problem often occurs when the 3d model has material IDs, or when a MaterialByElement modifier is applied to a model .
To quickly correct this, simply apply the “Material” modifier to the
object in question.


DLL errors from 3d objects in the scene
It is quite common to encounter
dll errors when opening scenes from architectural visualisation.
These errors often appear when there’s a
missing plug-in, or when an new object from a different scene is merged in.
With 3d objects, is often a case of simply merging the object with artifact in a brand new 3ds Max scene, and re-saving the file to correct the dll error.
Erasing/masking out pixels behind tree leaves/branches for Photomontages
Until recently, undertaking the laborious task of erasing pixels behind tree leaves and branches could be considered to be any visualiser's nightmare.
For those who still do it the old fashion/tedious way, the following technique will definitely help speed up your workflow dramatically:
Without further ado, let's start by first duplicating the layer you'll be working on(Ctrl+J)
To help highlight the effect of this excellent Photoshop tool, we are going to use a red layer underneath the working document (i.e. underneath Layer 1).
To do so, create a new layer below the duplicated layer, and fill it out with the Paint Bucket tool.


To begin erasing the pixels behind the tree, simply go to the side tools and pick the Background Eraser Tool.
Also, choose the Sampling Once method and set the tolerance value to about 52%.
This value is a good starting point to target specific areas accurately. However, feel free to experiment with different values, if desired.

Choose and set a brush size by pressing the keys [ or ] .
To customize the brush size and its softness/hardness, simply click on the Brush button, from the main toolbar and slide the relevant slider to either direction.

Prior to begin erasing pixels, first select the working document (i.e. Layer 1).
To customize the brush size and its softness/hardness, simply click on the Brush button, from the main toolbar and slide the relevant slider to either direction.

Prior to begin erasing pixels, first select the working document (i.e. Layer 1).
Next, target the pixel colour with a left click, and hold it down thereafter.
While holding down the left click, begin brushing away.

There will be areas of the image that will not be erased because its pixel colour differs from the initial targeted pixel .
To re-target new pixel areas, simply release holding down the left click, and left click on new pixel area, as previously done.
After finishing, note how quickly and accurately all the relevant pixels were erased (in seconds) without having to worry about affecting undesired areas such as the tree leaves and/or its branches.


I hope you have found the tips somehow useful!
The next post about architectural visualisation will focus on a new script to automatically create and place survey points in a 3ds max scene accurately, by using the surveyor's data from an excel spreadsheet.
Ta


![]()


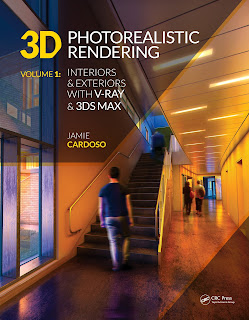
Also, please check my New Book in this post Here: 3D Photorealistic Rendering: Interiors & Exteriors with V-Ray and 3ds Max
Important Terminologies & Descriptions:
3d Rendering: In a nutshell, is the process of converting the three dimensional (3D) data seen in a 3d scene into 2D image/s (rasterized).
3D renders can be a sequence of animated objects/effects/cameras, or a single frame with a still camera and object/s.
Some of the articles, Videos and Tutorials depicted here will take you through the process of rendering.
Photorealistic Rendering: Is the Process or Art of making a typical Computer Generated Image/render (CGI) look indistinguishable from a real photo.
To achieve this, users often need to possess the skills and the"eye" to appreciate good photography, cameras, composition, lighting, shaders, materials, 3d modelling, rendering and have some post-production skills.
Some of the articles, Videos and Tutorials depicted here will help you achieve truly photorealistic renderings.
Post-Production: Is the process of creating effects or/and results after (post) the main process.
This terminology can be used to describe the results (post-production) of main processes such as 3d renderings and/or filming a scene.
The post-production often occurs in applications such as Photoshop, After Effects, Nuke, etc.
Some of the articles, Videos and Tutorials depicted here will take you through the process.
Architectural Rendering, or architectural illustration/Visualization, is the art/process of creating two-dimensional images or animations depicting the attributes of an architectural design, while using state of the art applications such as, Autocad, 3ds max, VRay, Cinema 4d, Blender, Maya, Corona, Photoshop, etc
Some of the articles, Videos and Tutorials depicted here will take you through this amazing process.
Textures: Is a term often used to describe photographed 2d images to be later used in a toggle of a shader or procedural map.
Textures can be used in the Diffuse toggle, Reflect, Glossy effects, Bump, Displacement, etc.
Some of the articles, Videos and Tutorials depicted here will take you through the process of applying textures.
Materials: Is a term often used to describe maps, textures,procedural maps or shaders, depending on the context the term is being used.
Some of the articles, Videos and Tutorials depicted here will take you through the process of applying materials.
Procedural materials: Is a term often used to describe maps with editable/proprietary parameters/functions.
Some of the articles, Videos and Tutorials depicted here will take you through the process of applying procedural materials.
Shaders: Is a term often used to describe complex materials with functions and procedural maps created for a specific purpose.
Some of the articles, Videos and Tutorials depicted here will take you through the process of applying shaders.
In addition, there is a huge online support for this software, and countless online sites with tips and tutorials.
Finally, there are readily available books, online/college courses, and its full documentation at Adobe.com
More tips & Tricks:
Post-production techniques
Tips & tricks for architectural Visualisation: Part 2
Essential tips & tricks for VRay & mental ray
Photorealistic Rendering
Creating Customised IES lights
Realistic materials
Creating a velvet/suede material
FoxRenderfarm
www.arroway-textures.com
Renderpeople
Gobotree
Ta
Video Captions available (CC)
Video Captions available (CC)
Video Captions available (CC)
Video Captions available (CC)
Video Captions available (CC)
Checkout below my other Courses with High Resolution Videos, 3d Project files and Textures included.
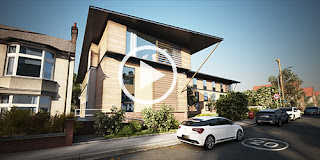 |
| Course 1: Exterior Daylight with V-Ray + 3ds Max + Photoshop |
Course 2: Exterior Night with V-Ray + 3ds Max + Photoshop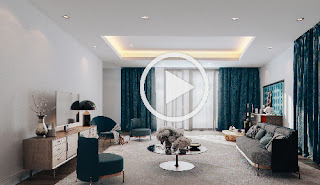 |
| Course 4: Interior Daylight with V-Ray + 3ds Max + Photoshop |
 |
| Course 5: Interior Night with V-Ray + 3ds Max + Photoshop |
 | |||||
Course 6: Studio Lights with V-Ray + 3ds Max + Photoshop
|


Also, please check my New Book in this post Here: 3D Photorealistic Rendering: Interiors & Exteriors with V-Ray and 3ds Max

Important Terminologies & Descriptions:
3d Rendering: In a nutshell, is the process of converting the three dimensional (3D) data seen in a 3d scene into 2D image/s (rasterized).
3D renders can be a sequence of animated objects/effects/cameras, or a single frame with a still camera and object/s.
Some of the articles, Videos and Tutorials depicted here will take you through the process of rendering.
Photorealistic Rendering: Is the Process or Art of making a typical Computer Generated Image/render (CGI) look indistinguishable from a real photo.
To achieve this, users often need to possess the skills and the"eye" to appreciate good photography, cameras, composition, lighting, shaders, materials, 3d modelling, rendering and have some post-production skills.
Some of the articles, Videos and Tutorials depicted here will help you achieve truly photorealistic renderings.
Post-Production: Is the process of creating effects or/and results after (post) the main process.
This terminology can be used to describe the results (post-production) of main processes such as 3d renderings and/or filming a scene.
The post-production often occurs in applications such as Photoshop, After Effects, Nuke, etc.
Some of the articles, Videos and Tutorials depicted here will take you through the process.
Architectural Rendering, or architectural illustration/Visualization, is the art/process of creating two-dimensional images or animations depicting the attributes of an architectural design, while using state of the art applications such as, Autocad, 3ds max, VRay, Cinema 4d, Blender, Maya, Corona, Photoshop, etc
Some of the articles, Videos and Tutorials depicted here will take you through this amazing process.
Textures: Is a term often used to describe photographed 2d images to be later used in a toggle of a shader or procedural map.
Textures can be used in the Diffuse toggle, Reflect, Glossy effects, Bump, Displacement, etc.
Some of the articles, Videos and Tutorials depicted here will take you through the process of applying textures.
Materials: Is a term often used to describe maps, textures,procedural maps or shaders, depending on the context the term is being used.
Some of the articles, Videos and Tutorials depicted here will take you through the process of applying materials.
Procedural materials: Is a term often used to describe maps with editable/proprietary parameters/functions.
Some of the articles, Videos and Tutorials depicted here will take you through the process of applying procedural materials.
Shaders: Is a term often used to describe complex materials with functions and procedural maps created for a specific purpose.
Some of the articles, Videos and Tutorials depicted here will take you through the process of applying shaders.
V-Ray: Is a rendering engine that uses global illumination
algorithms, including path tracing, photon mapping, irradiance maps and
directly computed global illumination.
Furthermore, it is used as a commercial plug-in for
third-party 3D computer graphics software applications such as 3ds max, Maya, Houdini, Blender, Nuke, etc, for
visualizations and computer graphics in industries such as media,
entertainment, film and video game production, industrial design, product
design and architecture.
3ds Max: Autodesk 3ds Max, formerly 3D Studio and 3D Studio Max, is a
professional 3D computer graphics program designed to create 3D animations,
models, games and images.
In addition, it has modelling, animation and movie effects
capabilities, frequently used by video game developers, TV commercial studios
and architectural visualization studios.
3ds Max also features shaders, dynamic simulations, particle
systems, plug-ins, and much more, with its own scripting language.
Adobe Photoshop: Photoshop is a powerful raster based graphics program produced by the Adobe Corporation.
It
is widely used for a variety of photo/image editing purposes worldwide.
The program has a huge number of filters, functions, plug-ins, scripts,
etc.In addition, there is a huge online support for this software, and countless online sites with tips and tutorials.
Finally, there are readily available books, online/college courses, and its full documentation at Adobe.com
More tips & Tricks:
Post-production techniques
Tips & tricks for architectural Visualisation: Part 2
Essential tips & tricks for VRay & mental ray
Photorealistic Rendering
Creating Customised IES lights
Realistic materials
Creating a velvet/suede material
FoxRenderfarm
www.arroway-textures.com
Renderpeople
Gobotree
.
No comments:
Post a Comment